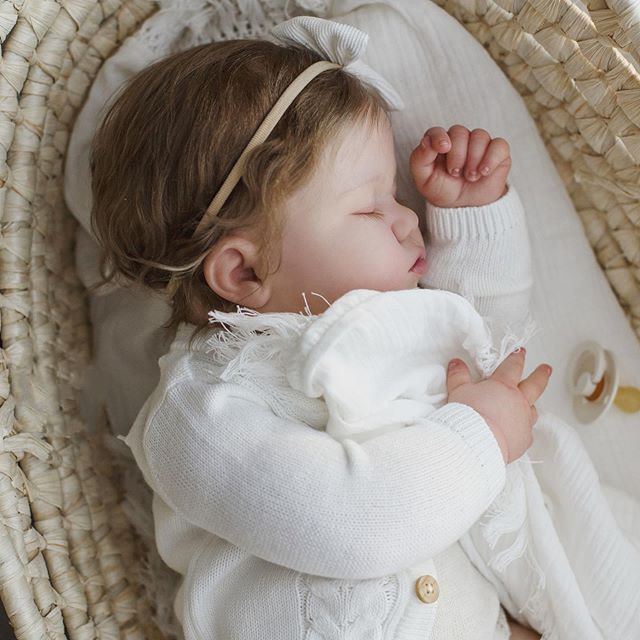
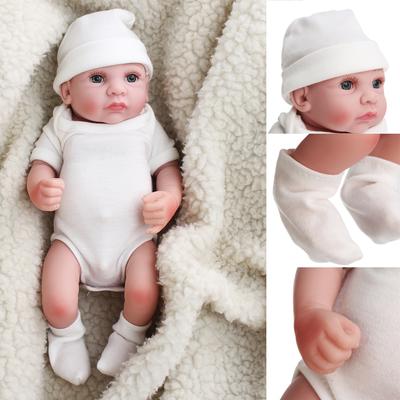
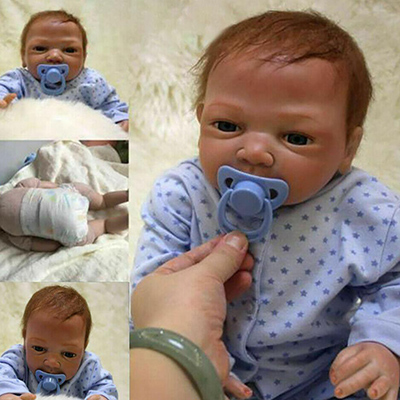
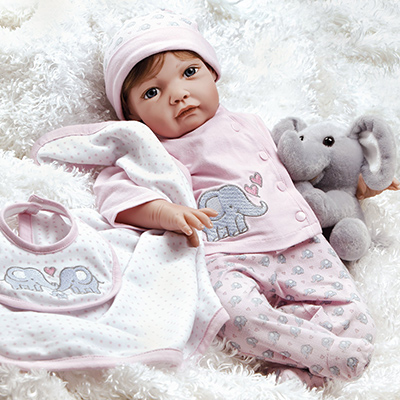
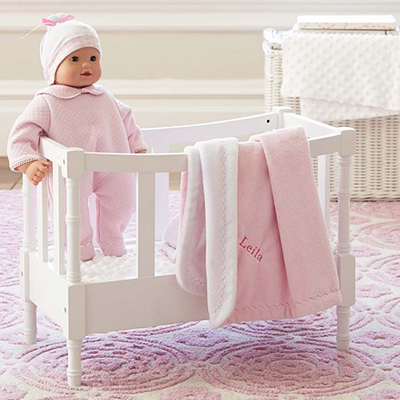
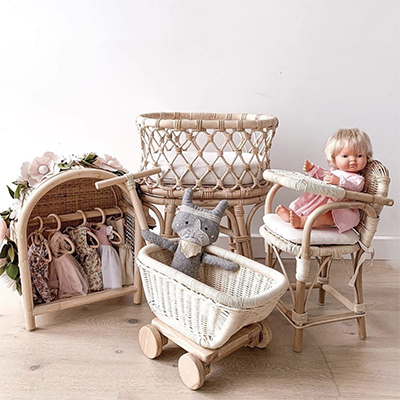
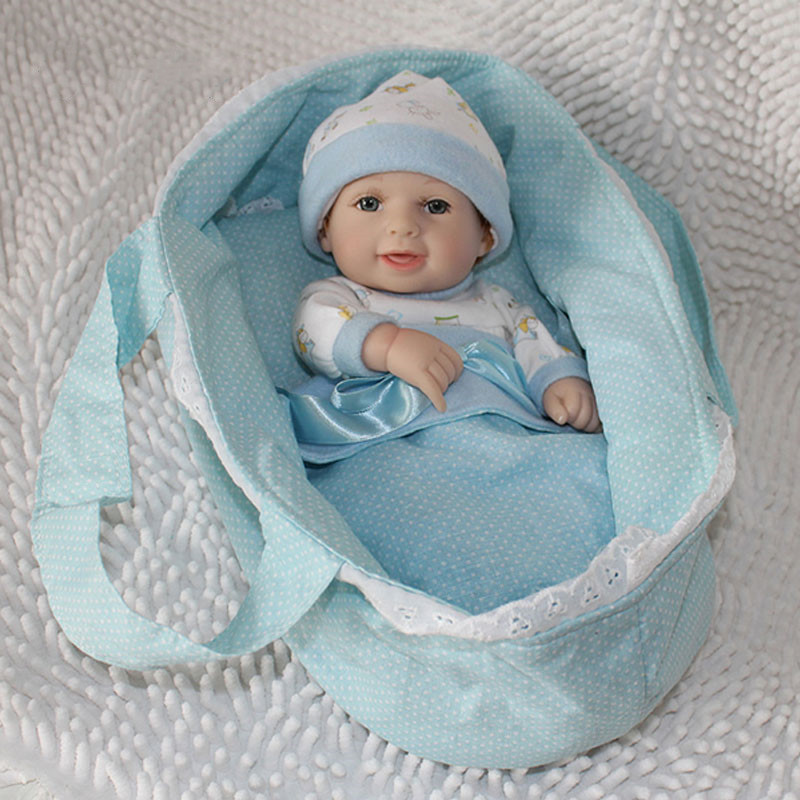
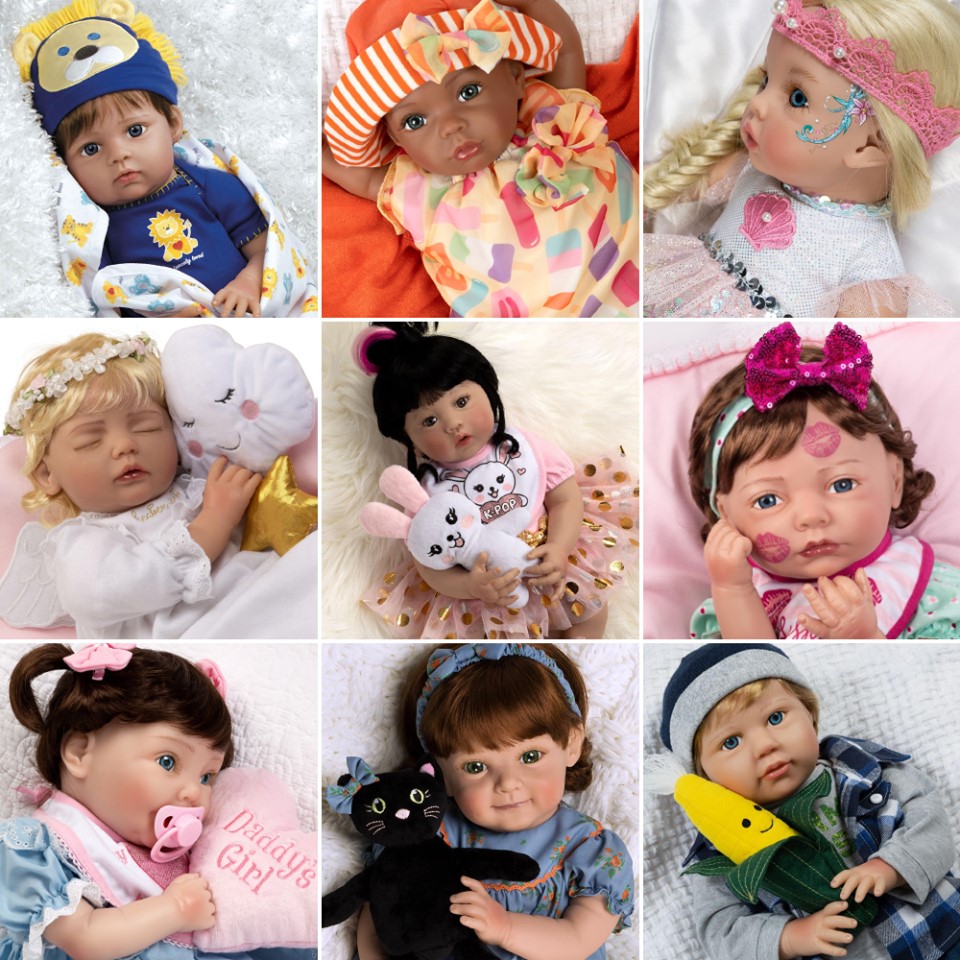
Reborn dolls were created to play as toys for young kids, but from the past few years, it has been used for much more than that. Numerous parents can’t give birth to children, or they have lost their infants. Some of them often face trauma and depression. Reborn dolls are the source to fill their gaps and serve as therapy. People feel reborn as their actual child.
Making a reborn doll might sound easy, but the reality is the opposite. It needs unique expertise to create a reborn doll with realistic looks. However, with patience, hardworking, and practice, you can acquire the skills to create a reborn doll. Are you curious about how to be a reborn doll artist? If yes then grab your seat – it’s going to be a long but exciting ride.
How to be a reborn doll artist?
Below are the steps and techniques to craft a reborn doll. Although every artist has his unique techniques, only a few things different from the necessary steps.
1. Preparation
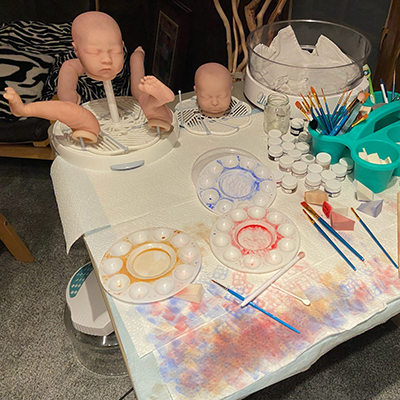
First of all, the artist purchases the vinyl parts of dolls. Most of the time, this is a kit that is molded to make a reborn baby. The body plate of the doll depends upon the client’s preferences or the artist himself.
Now, the artist needs to purchase art supplies and different finishing elements along with the assembling tools. The kit preparation is completed.
2. Supplies
- Paints: genesis heat set paints are best for this purpose. Some artists prefer air dryer paints for the reborn doll, which eradicate the step of baking between every single layer of paint.
- Tools: micro drill tool for boring the holes of nostrils etc.
- Ceramic or plastic palette to mix in the paint.
- Paint thinner
- Sea sponges, cosmetic sponges, and other such materials to complete mottling.
- If the doll is open-eyed, then you need glass or plastic eyes.
- Doll eyelashes in case you don’t want the micro rooting of lashes.
- A rack for drying
- Hair (mostly Mohair or synthetic) in case of rooting
- A convection oven instead of a traditional oven
- Cable ties, a body, glass or plastic beads for weighting, and polyfill stuffing for assembling the reborn.
3. Complexion painting
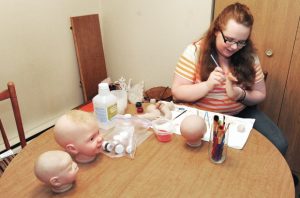 The artist washes all the parts of a vinyl doll and dries it thoroughly. This part is done with warm soapy water. However, some artists prefer rubbing alcohol for drying and washing.
The paint is applied to the doll to complete its base coat. To make the doll-like the real baby two to six layers of paint are applied. Some artists bake the parts after every layer of paint to make it dry. But some of them bake it after two or three layers of paint.
After the base coat, mottling is done to show blood flow under baby skin.
Veins are painted under the mottling and after the second layer of skin paint.
The vinyl parts are then placed in an oven at a temperature of 260-265F to set the paint.
Blushing and creasing is done after cooling to make the illusions of skin folding and add warmth in the skin.
The inside of nostrils and ears are also shaded, just like the other areas.
Using a sponge or porous material dabbing is done to give the doll finishing with creasing on knees, elbows and upward the hairline.
4. Fine detail painting
Fine details on the lips and nails are applied. Too red lips look like a doll; therefore, you should apply enough blush to make it realistic.
Reddish blue patches are painted on the top of the head, on the forehead, and back of the neck. Moreover, freckles and moles are also painted sometimes.
Toenails and fingernails are tipped with whitish color to give them a natural look.
5. Skin texturing and sealing
Skin texturing is one of the most challenging steps for every artist. You can use a gloss or mat coat and baked it again.
In case of dry gloss, it is applied after baking.
Tears, wet lips and moist nose brings the reborn doll to life, and it looks like a real baby.
6. Rooting
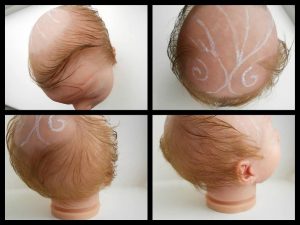 After painting, it’s time to root. If the eyes are open, then you can insert eyes before or after rooting.
Rooting takes time and practice. First, draw the hair plan; it helps you to root faster. Root direction and needle angle should be in the right way.
Rooting of eyelashes can also be done, but some artist prefers artificial eyelashes and glued them.
After rooting glue is added so that hair stays in place.
7. Assembling and finishing
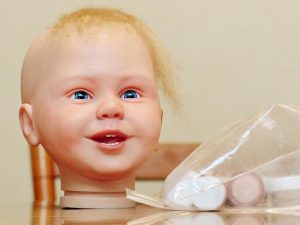 The stuffing of the doll is done to make some weight with the help of nylon pouches. These are placed into the lower body and head.
Then polyfill is added around these bags, which help them to stay in place securely.
Arms and legs are also stuffed to add weight and then add polyfill. Similarly, stuff the hips and shoulders.
Assemble all the parts of dolls with the help of string pieces or plastic cable ties. Excess of cables is then cut off.
8. Special touches as an Artist
Some artists add special touches to the reborn doll such as a birth certificate, hospital ID, diapers or outfits, which makes the owner happy.
Final Words
If you are worried about how to be a reborn doll artist then above mention steps are just basics. To become a perfect reborn artist, you need to have patience because it takes time and a lot of practice. In custom orders, many additions are added according to the customer’s preferences.

